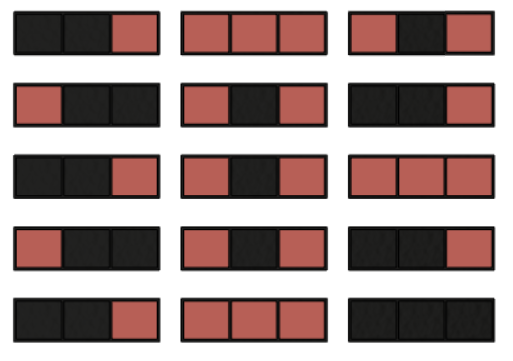
● B1 x 4
● B2 x 12
● B3 x 4
● B4 x 16
● B5 x 4
● C1 x 16
● C2 x 4
● D000 x 4
● D001 x 4
● D1 x 2
● D100 x 8
● D101 x 16
● D111 x 12
● Planet Gear x 60
● Sun Gear x 20
● Arduino MEGA
● SG90 9g Micro Servo x 20
● 1.7 mm diameter x 180 mm steel shaft ( I got mine from an old umbrella 😊 ) x 12
● Wafer head screw 4.2 x 25 mm x 8
● Pan Head Self Tapping Screw M3 x 10-12 mm x 72
● DS3231 Real Time Clock
● Power Supply 5V (2A minimum)
● KY-040 Rotary encoder (optional , for calibration)
● Sensor shield (makes it easier to connect the servos)
● servo extension cables x 20
● I printed all parts with 0.3 mm layer height.
● No support is needed.
● For the base I used Prusament PLA Viva La Bronze.
● For the digits I used eSUN eSilk-PLA Filament Jacinth.
● The digits should have a color change at 2 mm.
● Slide on the digits segments D to the triangular parts C1 and C2 according to this sketch. You shouldn’t need any glue. But if it’s too loose just add a tiny amount of glue to prevent it from sliding out.

● Attach a micro servo to part B1.
● Mount part B1 to the base A1 using two wafer head screws.
● Attach steel shafts and slide on the planet gears.
● Press the servo horn into the Sun gear. No glue needed.
● Attach the Sun gear to the micro servo.
● Slide on part B2. Do not glue.
● Place the appropriate triangular digits section on top. To make it easier to calibrate later, run the program servopos.ino.
● Connect the servo temporalily to pin 45. Rotate the layer with the rotary encoder and monitor the value with the serial monitor in the arduiono IDE. Position the face that corresponds to digit zero at front. The value should be approximately 90. Make sure you can rotate the layer to front all three faces.
● Attach a micro servo to part B2 and slide it on. The wires from the micro servo should be inserted through one of the two holes down to the base. Secure it with small screws.
● Continue in the same way with the other layers.
● Finish with part B5.
● Trim the steel shafts. They must not protrude above part B5.
● Repeat the above procedure for the other digits.
● Connect parts D1 and E1-4 and attach it to the base A3.
● Connect the base parts A1-A5. It’s a tight fit. No glue.
First start
● The faces of the digits should be 00:00.
● Run the program timetwister.ino.
● If you have a rotary encoder (recommended), press and hold the button for two secconds until the servos starts to position each layer and gets into calibration mode.
● Click the button and calibrate by twisting the rotary encoder.
● Click the button to continue with the next face.
● When the calibration is done, the program starts to show the time.
● The calibration and current positions of the servos are stored i eeprom, so you just have to do it once.
● If you don't have a rotare encoder, you can alter the source code and adjust the values of servo_target_pos.
Site was made with Mobirise